

A microcement shower should feel like one quiet surface: floor, walls, ceiling, niche and the moments between them reading as a whole. But the finish is only as convincing as what happens underneath it. For Toronto bathroom renovations, that means resolving waterproofing, drainage, movement and substrate consistency before the hand-trowelled layers ever begin.
In this Toronto bathroom, the electric heated floor and wet-area assembly were already in place. Before choosing the finish, we needed to see how the floor behaved. The first question was not colour—it was whether the system beneath it was ready for a continuous microcement surface.
A Toronto Bathroom With Electric Heated Floors and a Continuous Microcement Finish
The wet-area waterproofing and required floor slope were already complete before our microcement work began. We applied the preparation coat, then brought the electric heating up and allowed it to cool completely. This was the moment to let any latent cracking or movement reveal itself before the microcement itself was applied. Once the substrate had remained sound, we sanded, continued the preparation, and began building the microcement system across the shower floor, shower walls, niches, ceiling, bathroom walls and floor.
That sequence matters. Microcement creates the visible, continuous surface; it does not repair a moving floor, correct an inadequate slope or replace the waterproofing detail behind a shower.
-
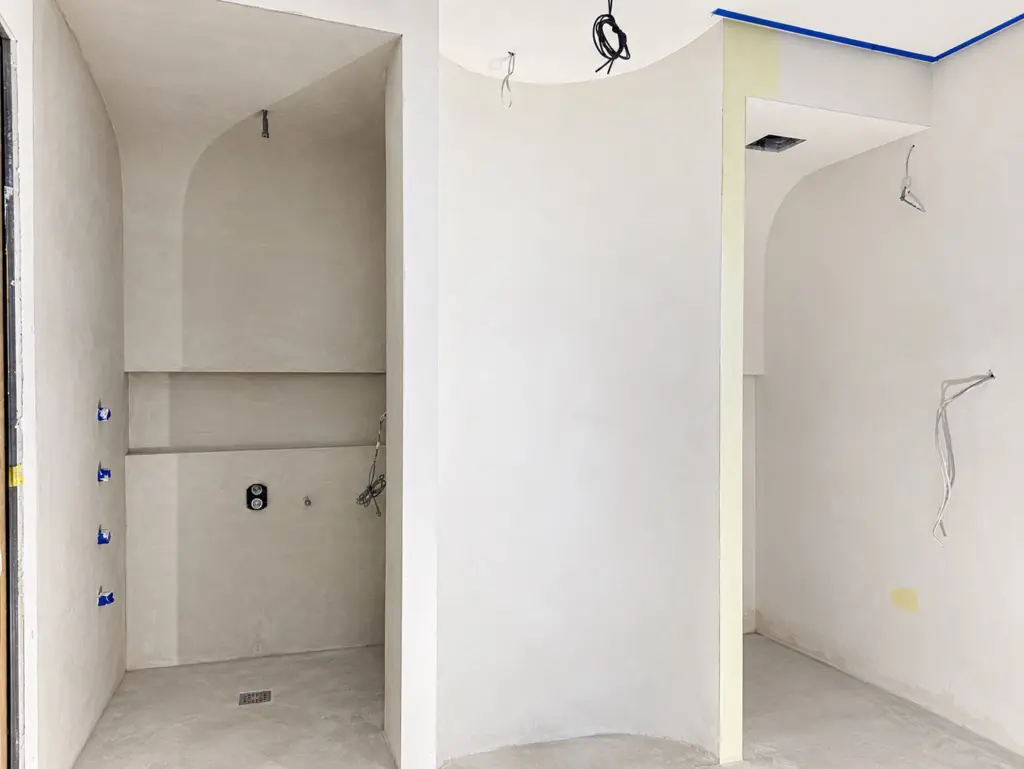
- Prepared wet-area substrate after waterproofing and floor-slope work, ready for microcement.
-
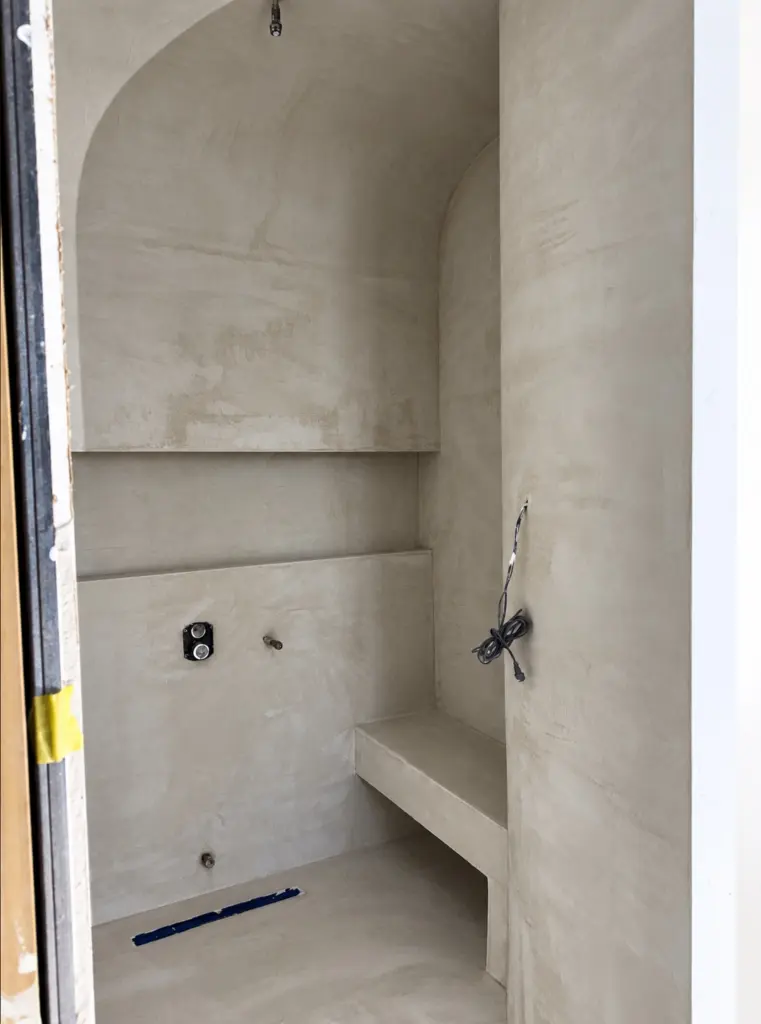
- Shower niche, bench and floor prepared before the microcement finish is built.
-
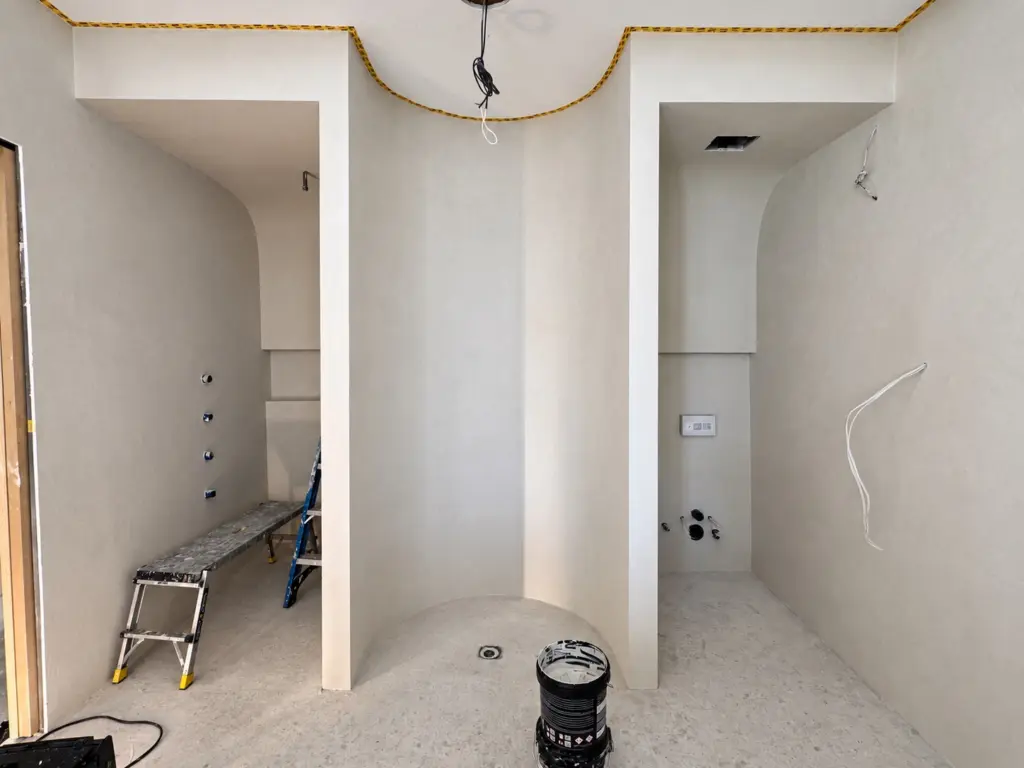
- Bathroom wet-area preparation and microcement application stage in Toronto.
A Short Look at the Application Process
This process video shows the hand application stage after the wet-area preparation has been completed. The continuous surface is built gradually, with each layer responding to the stability, detailing and geometry already resolved beneath it.
Can Microcement Be Used Over Heated Bathroom Floors?
It can be considered over a properly installed and tested radiant-floor system, but not by treating the heating as an afterthought. The existing installation must be functioning as intended, the substrate must be stable, and the selected microcement system must be compatible with the project conditions.
Heating introduces expansion and contraction through the floor assembly. A professional assessment looks for movement, cracking and inconsistent areas before coating begins, because a decorative finish can reflect problems below it. On this project, we deliberately increased the electric heat after the prep coat, let the floor cool again, then sanded and continued only once the surface remained suitable for microcement coverage.
Waterproofing Comes Before the Finish
A microcement shower is not simply a sealed decorative coating applied to an unfinished wet area. Waterproofing, drain detailing and the required slope must be resolved in the shower system before the microcement finish is installed. The finish then becomes the refined, joint-free surface that the room sees and uses.
This distinction is especially important at shower floors, wall-to-floor transitions, niches, drains and every penetration. This was a standard shower, not a steam enclosure; each project still needs the correct wet-area build-up and a substrate suitable for the finish being specified. A beautiful continuous surface should never be asked to solve a problem that belongs lower in the assembly.
Why the Substrate Must Be Solid, Flat and Consistent
Microcement is deliberately thin, which is part of its appeal. It does not add the visual weight of tile, but it also does not hide every decision made below it. The substrate needs to be solid, well bonded, even and consistent before the finish layers begin.
That preparation helps avoid cracking, uneven absorption and what installers sometimes call ghosting: a faint transfer of joints, patches, board lines or changes in the substrate that can become visible through a continuous finish. Preparation is not a cosmetic extra. It is how the finished surface stays calm rather than revealing the construction beneath it.
Where Microcement Can Carry Through a Bathroom
When the build-up is appropriate, microcement can create continuity across:
- shower walls and shower floors;
- bathroom walls and floors;
- ceilings;
- built-in niches and ledges; and
- selected benches or architectural details.
Using one finish across several planes does not mean every plane is treated casually. A shower floor, vertical wall, ceiling and niche each have different demands, and the detailing must respond to them.
Existing Tile or a Rebuilt Wet Area?
There are two responsible routes into a microcement bathroom. If existing tile is level, securely bonded, dry and suitable for preparation, an overlay may be considered after a proper assessment. Our guide to microcement over tiles explains that path.
When a bathroom is being rebuilt, as with a new shower assembly, the focus shifts to the substrate, drainage, waterproofing and transitions before the final finish. For a broader view of the material in a completed space, see our microcement bathroom service.
Why Professional Installation Matters
Microcement rewards restraint and exposes shortcuts. The final surface is the result of a series of decisions about substrate, movement, waterproofing, detailing, layer development and sealing—not one last decorative coat. That is why we assess the room as a system before specifying the finish.
For a Toronto or GTA bathroom renovation, we can review the existing condition, whether heated floors are involved, and whether an overlay or a newly built wet-area assembly is the better starting point. Discuss a microcement bathroom project.