

Toronto Microcement Tile Renovation: Kitchen & Bathroom Project
This Toronto microcement tile renovation focused on the practical side of resurfacing: selected kitchen and bathroom surfaces were assessed, prepared and finished only where the existing tile assembly could support a continuous microcement system. The goal was a quieter, grout-free update—not a shortcut around proper preparation.
For the complete decision-making guide, including when existing tile should be repaired or removed, see our Toronto guide to applying microcement over tile.
Project Surfaces and Design Intent
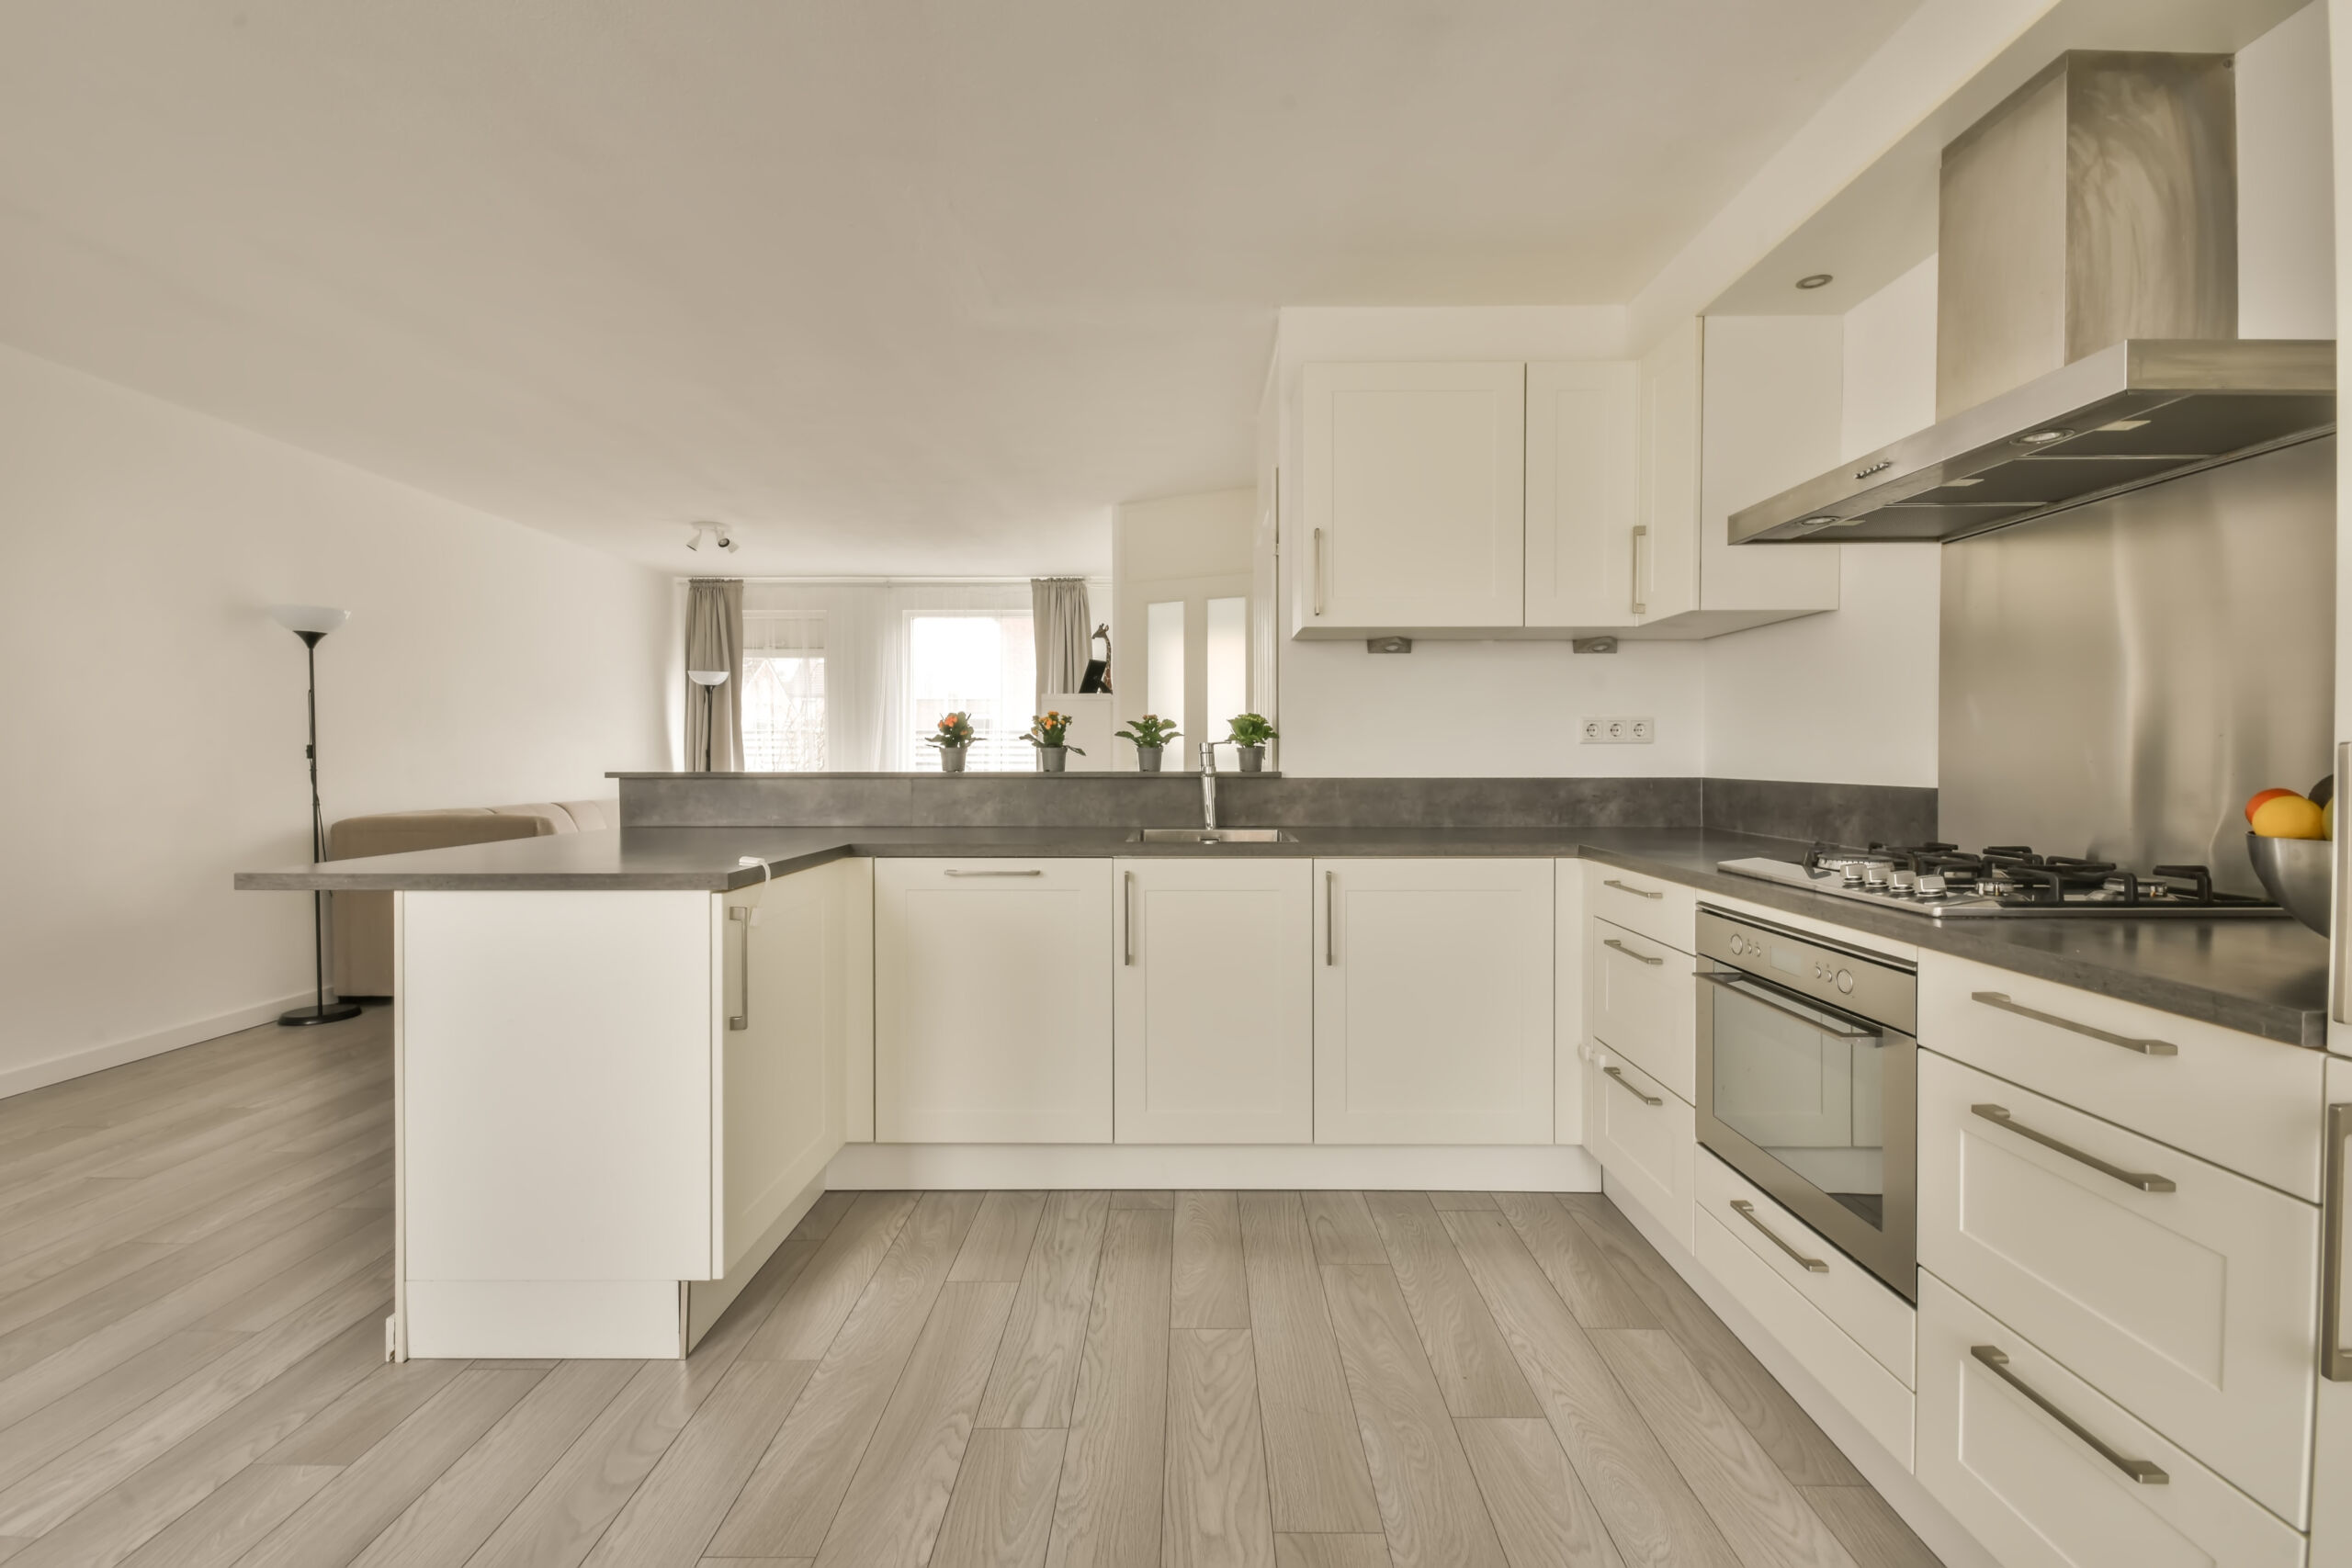
- Kitchen backsplash: a continuous, grout-free plane that lets the cabinetry and surrounding materials read more quietly.
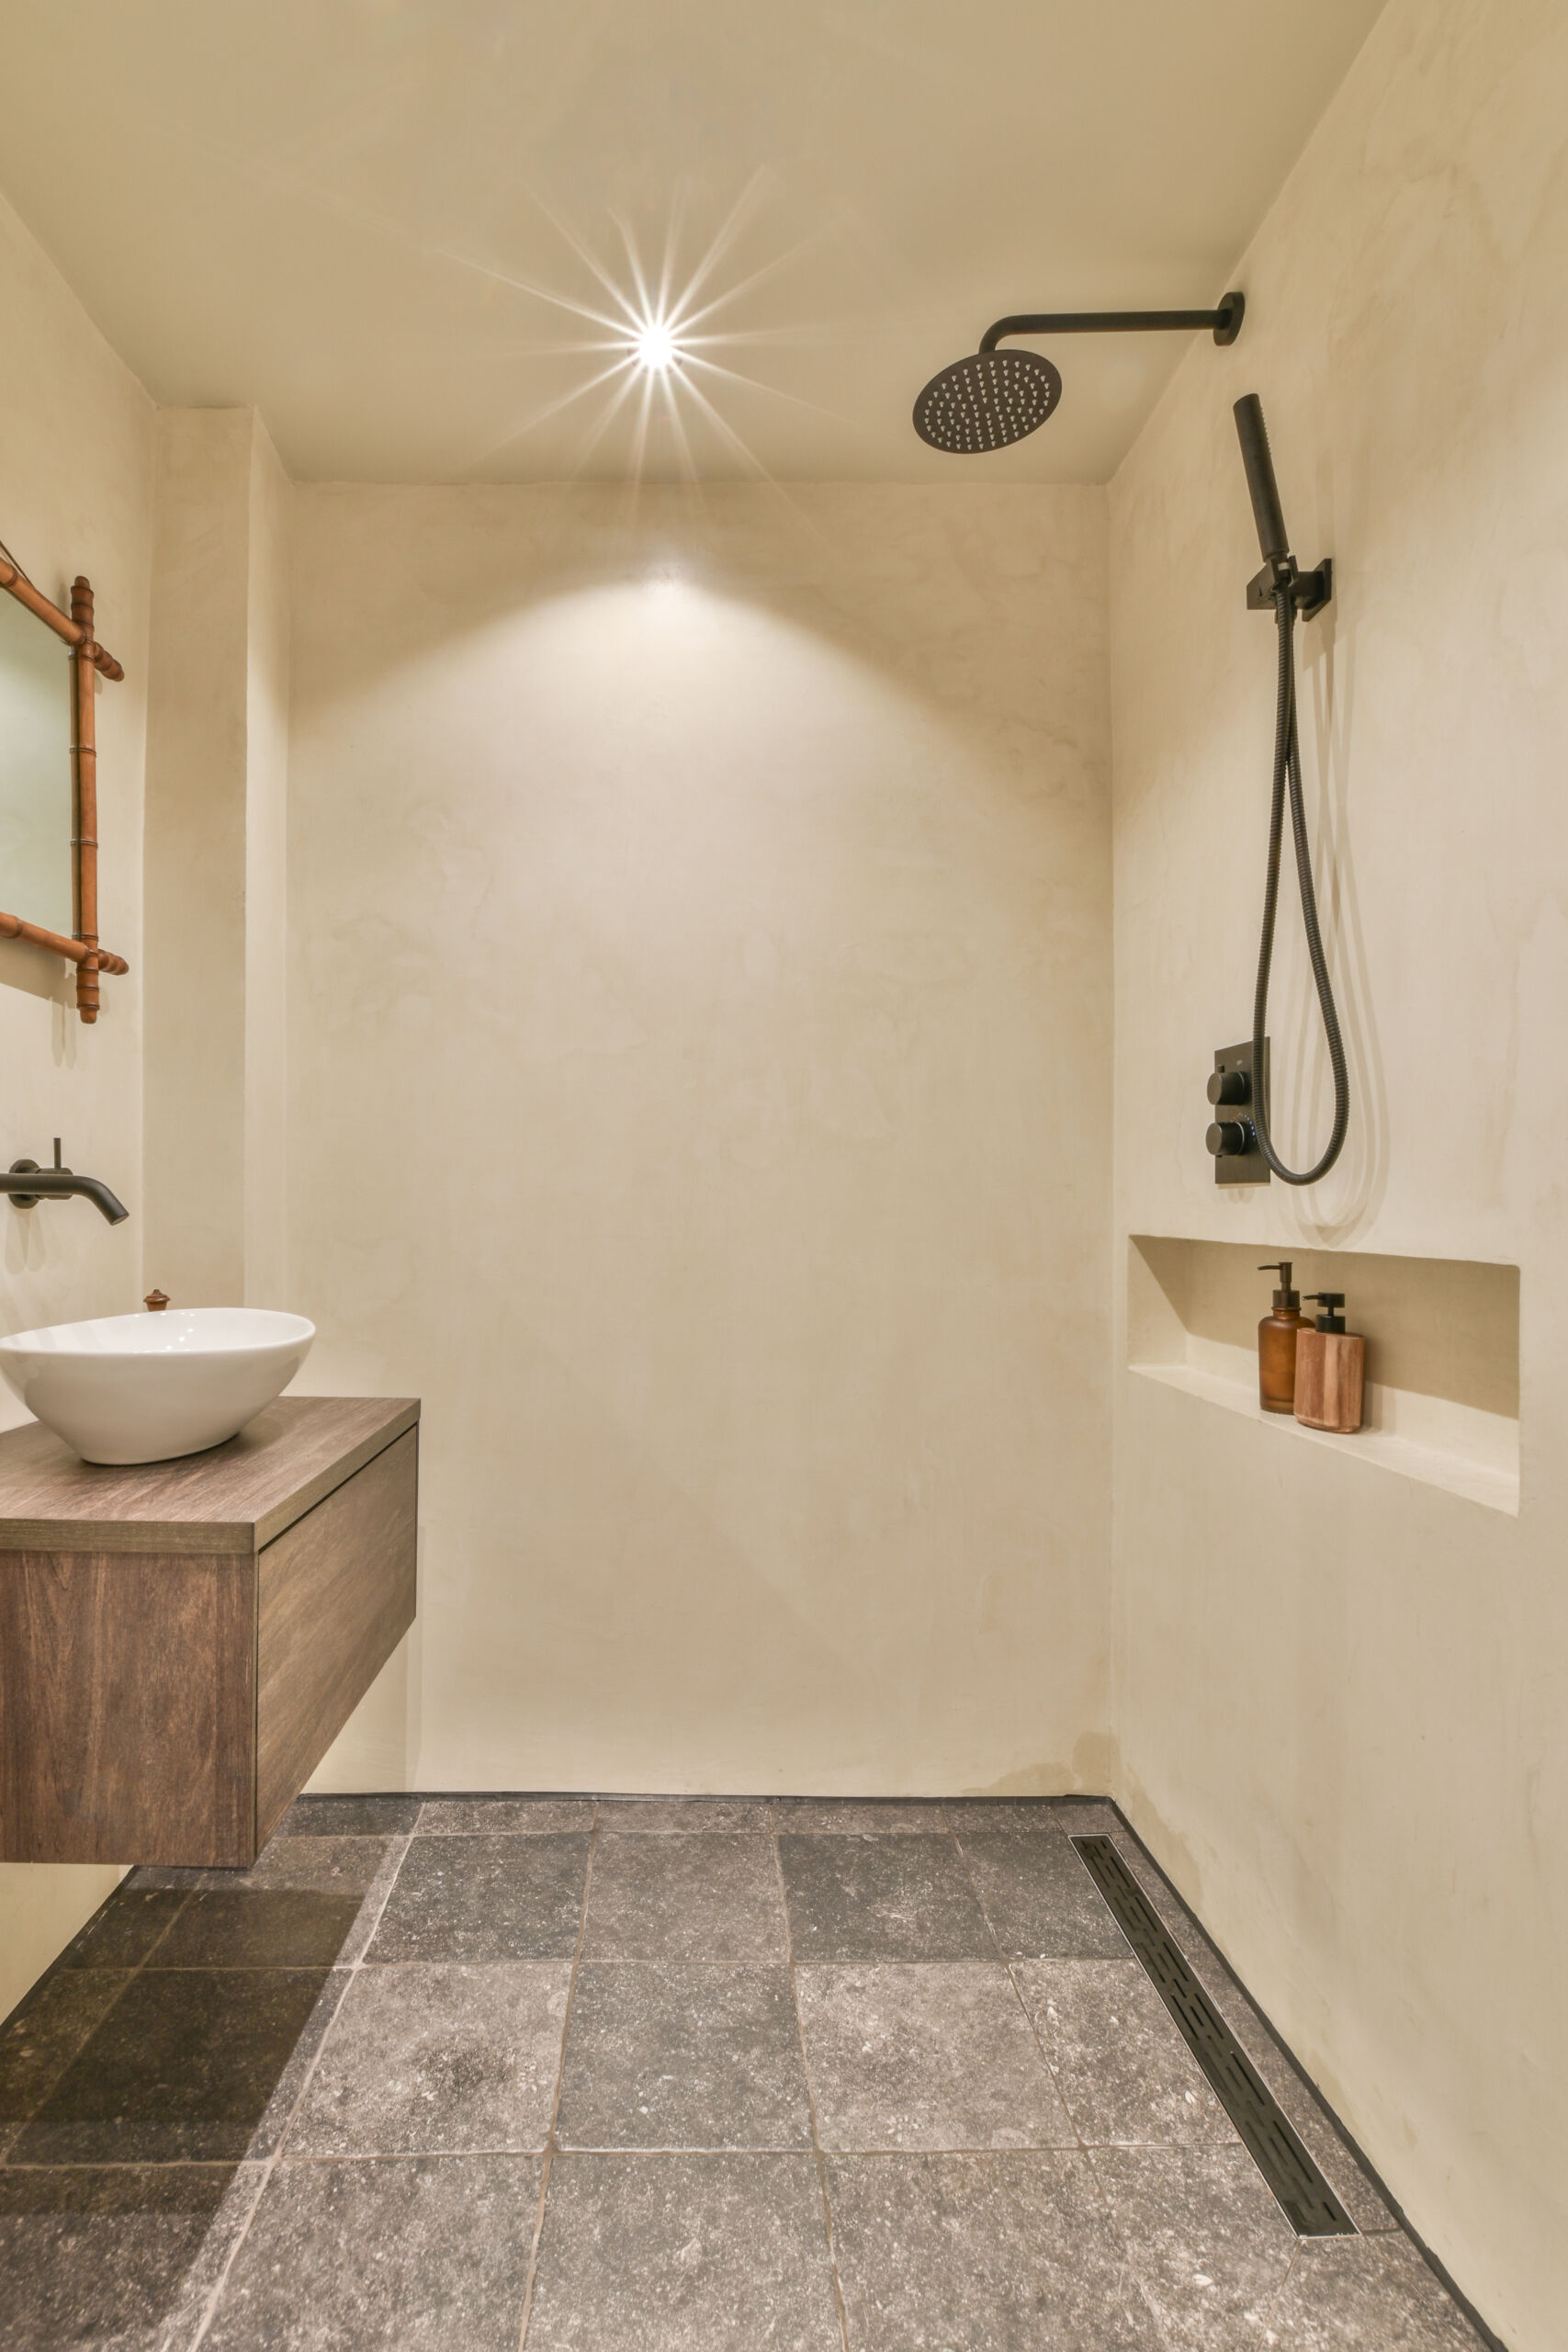
- Bathroom walls and wet-zone details: surfaces were considered only after the existing tile assembly and moisture conditions were assessed.
- Existing tiled areas: preparation was treated as part of the finish—not a step to skip in pursuit of a faster renovation.
Why Tile Preparation Led the Process
In this project, the existing tile was evaluated before any finish was specified. Sound, stable tile can sometimes remain, but loose tiles, failed grout, moisture concerns and movement must be corrected before microcement is considered. The visible finish is thin; the preparation beneath it does the heavy lifting.
That is why this Toronto project is best read as a case study rather than a universal shortcut. The final surface was designed to feel calm and continuous, while the technical decisions were made around the condition of the substrate.
Microcement installation over a tiled backsplash in Toronto
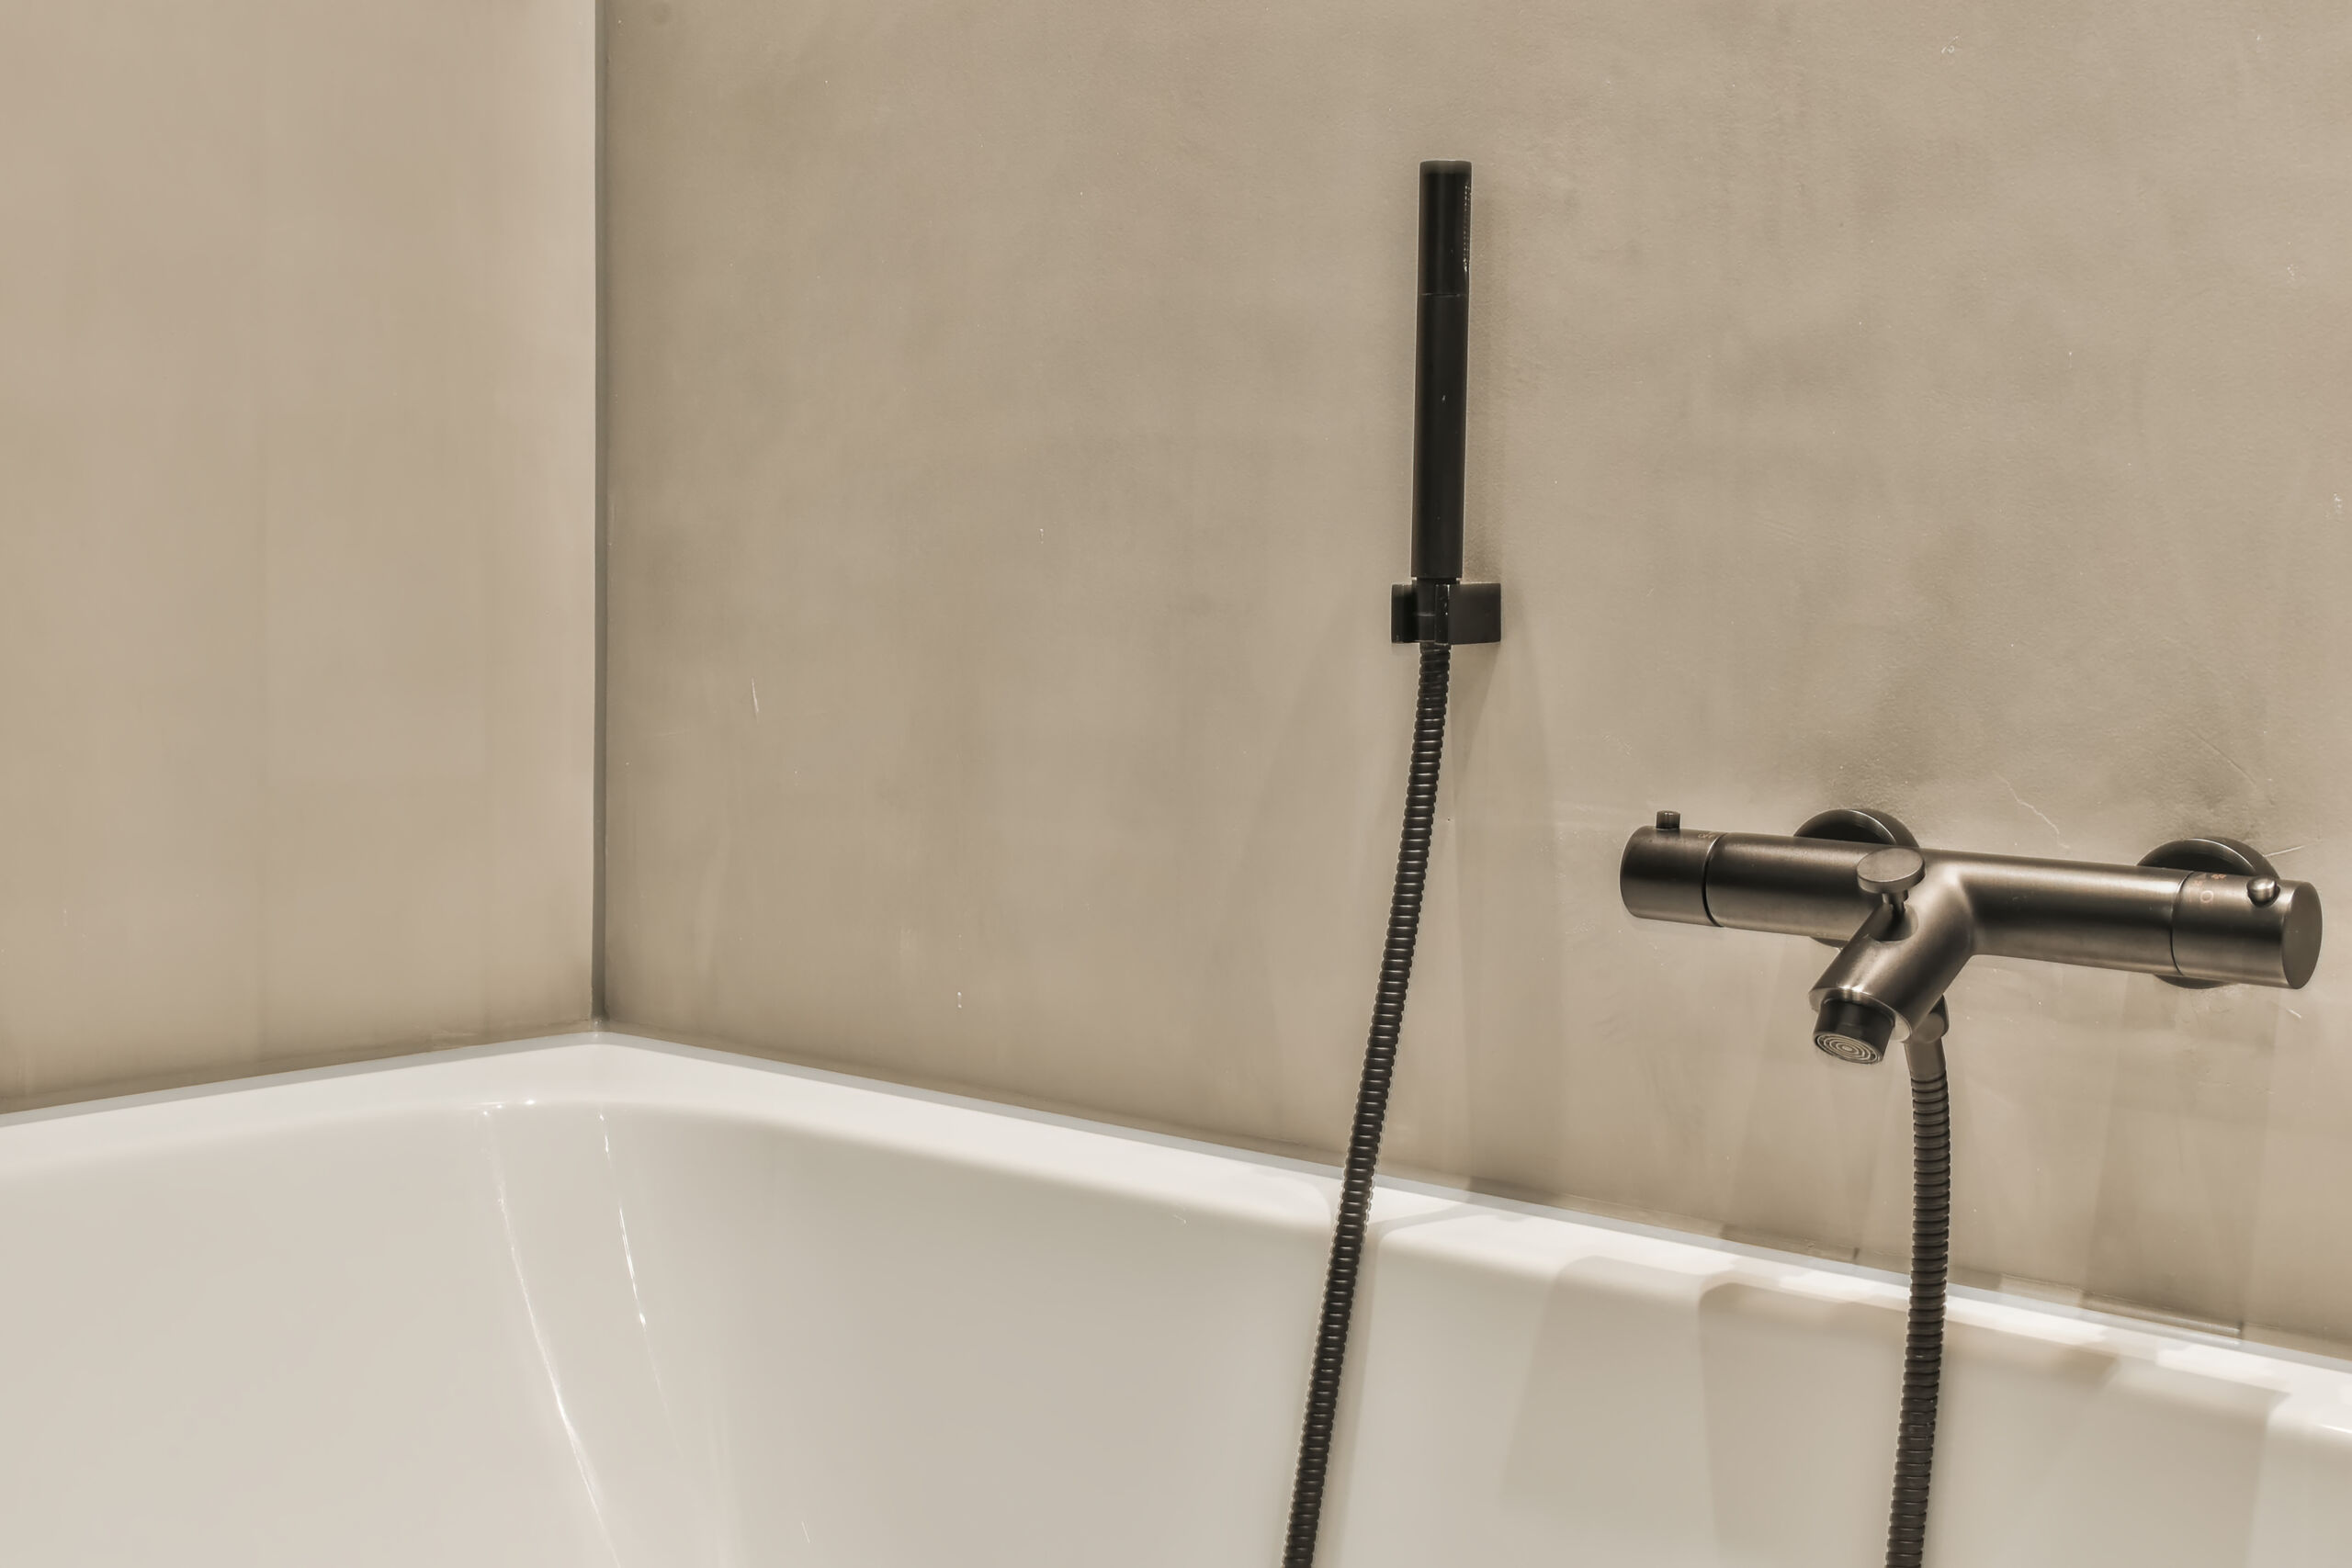
Microcement installation over tile


Microcement over tile for shower floors and walls – Toronto, Ontario


Speak To Shayan 416 (606) 8060 or Request A Quote
The Design Result: Less Grout, More Continuity
The point of this tile renovation was not to pretend the original substrate had disappeared. It was to turn selected kitchen and bathroom surfaces into quiet, continuous planes once their condition had been properly addressed. That visual calm lets cabinetry, hardware and light do more of the talking.
This Is a Case Study, Not a Shortcut
The outcome shown here depended on stable tile, appropriate preparation and location-specific detailing. It does not mean every tiled room is a candidate. Active movement, debonded tile, moisture problems, drainage or transitions can change the right solution entirely. The broader Toronto guide to microcement over tile explains how that assessment is made.
- Continuous visual field: A grout-free finish can let cabinetry, fixtures and adjoining materials read more quietly.
- Preparation-led: The finished result depends on a stable, properly prepared substrate—not simply the final decorative layer.
- Location-specific: Walls, backsplashes, floors and wet zones each call for their own assessment and detailing.
- Wet-area detail: In bathrooms, the visible finish complements rather than replaces sound waterproofing behind the assembly.
- Finish selection: Colour, texture and the protective system are selected around the room and intended use.
Planning a Similar Toronto Tile Renovation
A photo review is a useful starting point, but the existing surface, corners, grout, thresholds and room use all inform the specification. Explore our Microcement Toronto service for the wider material and application context, then arrange an assessment when the project calls for a continuous finish.
If you are renovating and removing the tiles anyway, see how microcement can be specified across shower walls, floors and niches as part of a new wet-area assembly.
FAQs: Microcement Finish Over Tiles
Ready to modernize your kitchen or bathroom with microcement?
Serving Toronto & GTA
| Toronto & GTA | |
|---|---|
|
|