When contemplating significant home upgrades, revitalizing your staircase is a fantastic method to significantly enhance your home’s aesthetic appeal. There are two primary choices: stair installation and stair refinishing.
The former includes the removal of old stairs and replacing them with entirely new ones, while the latter focuses on rejuvenating existing stairs to restore them to a like-new condition without undergoing a complete installation.
Both approaches offer various advantages; however, consulting with a professional is recommended to determine the most suitable option depending on the condition of your stairs. Stair installation tends to be pricier but may be essential for older homes with structural issues. On the other hand, refinishing is a cost-effective solution for breathing new life into weary floors.
Whether you’re adding character to the stair risers, transitioning from carpet to stylish hardwood staircase treads, or giving a makeover to your basement stairs, we have the perfect solutions for a stair refurbishment or remodel.
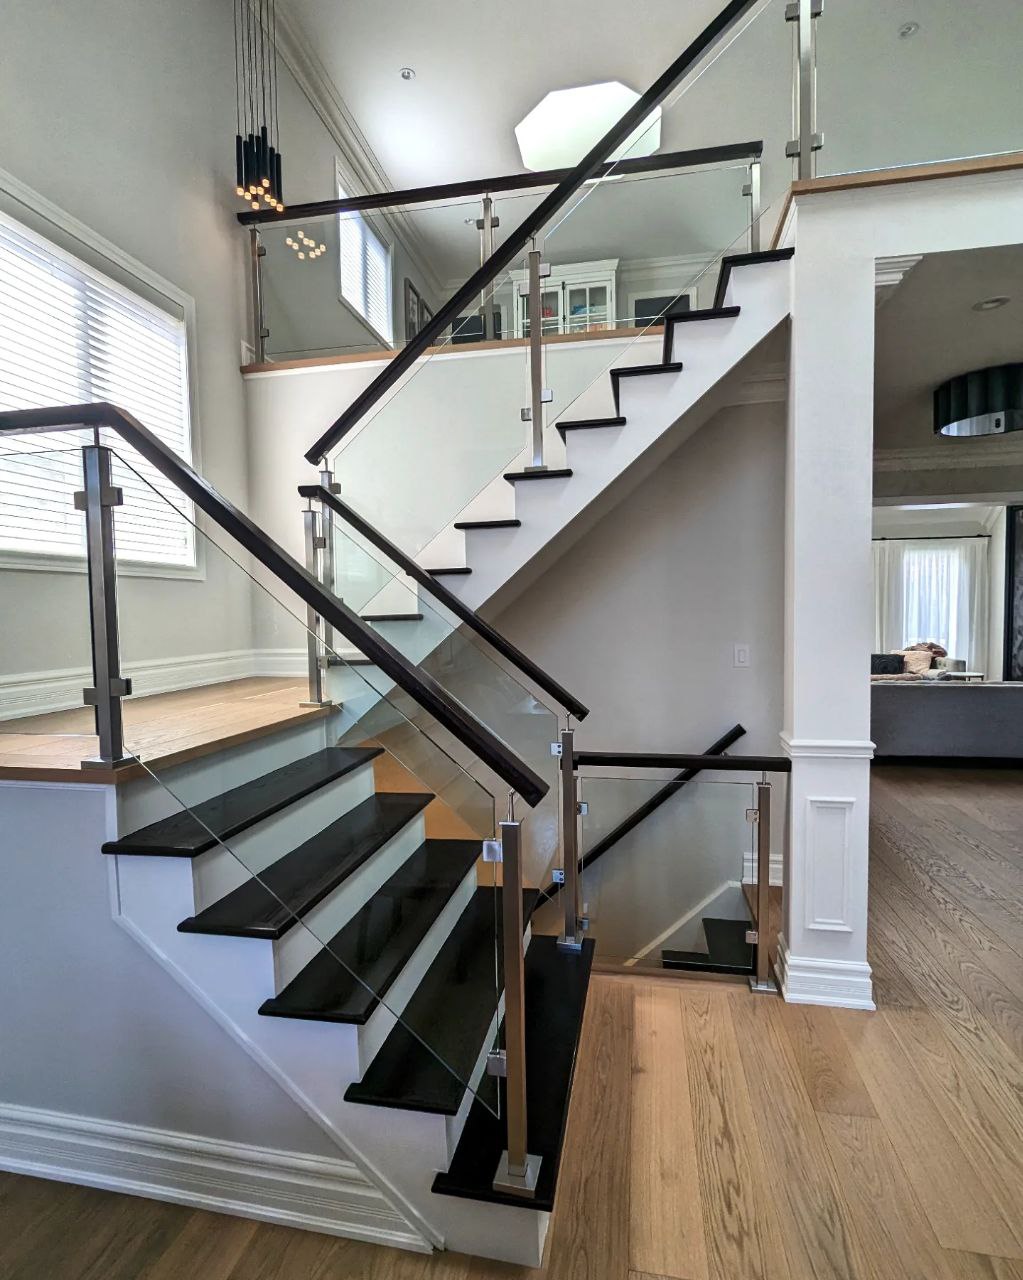
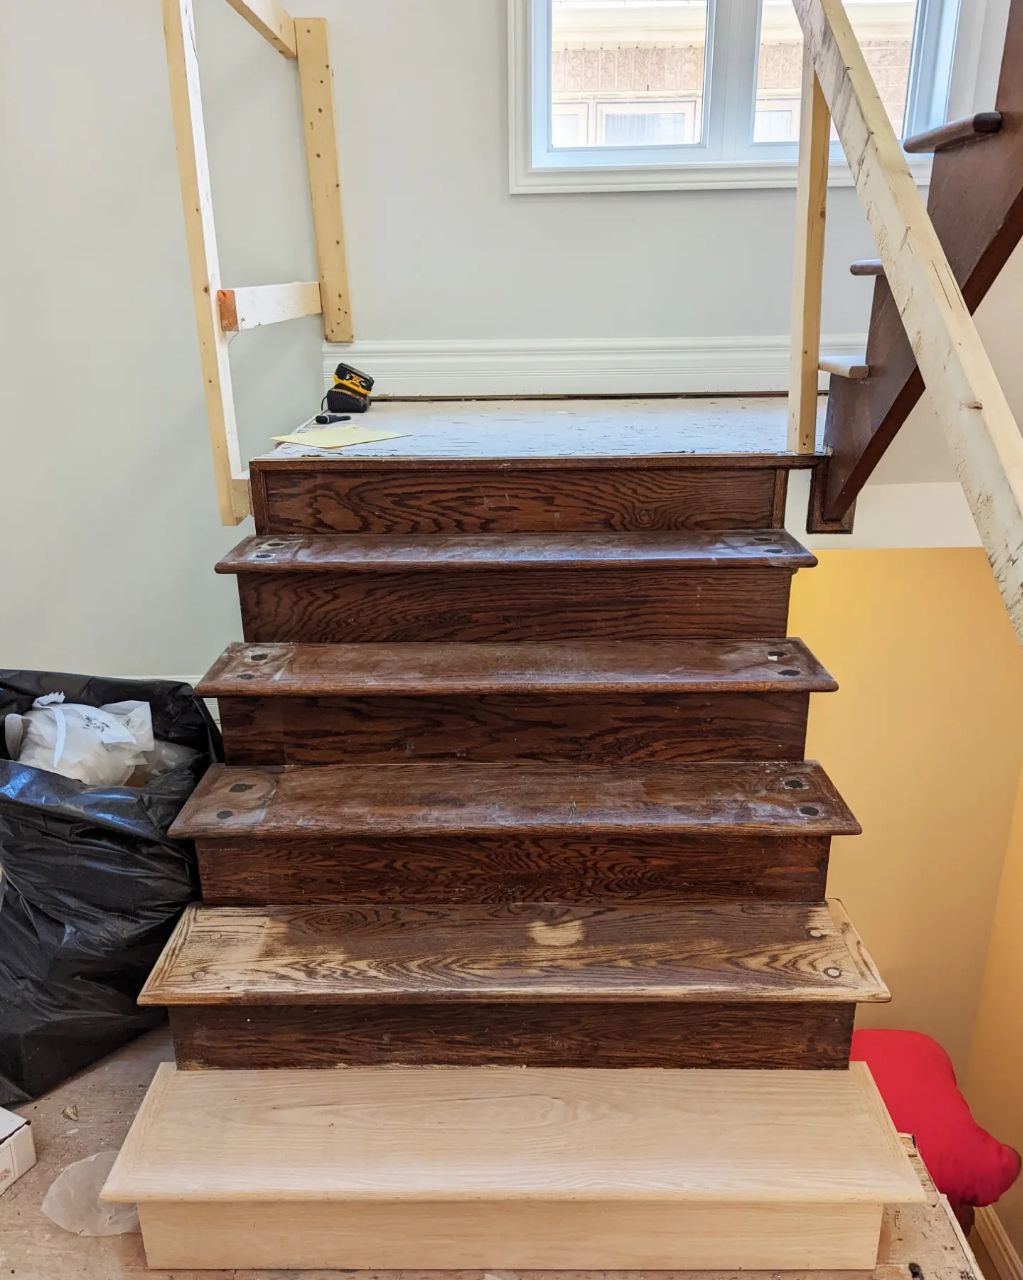
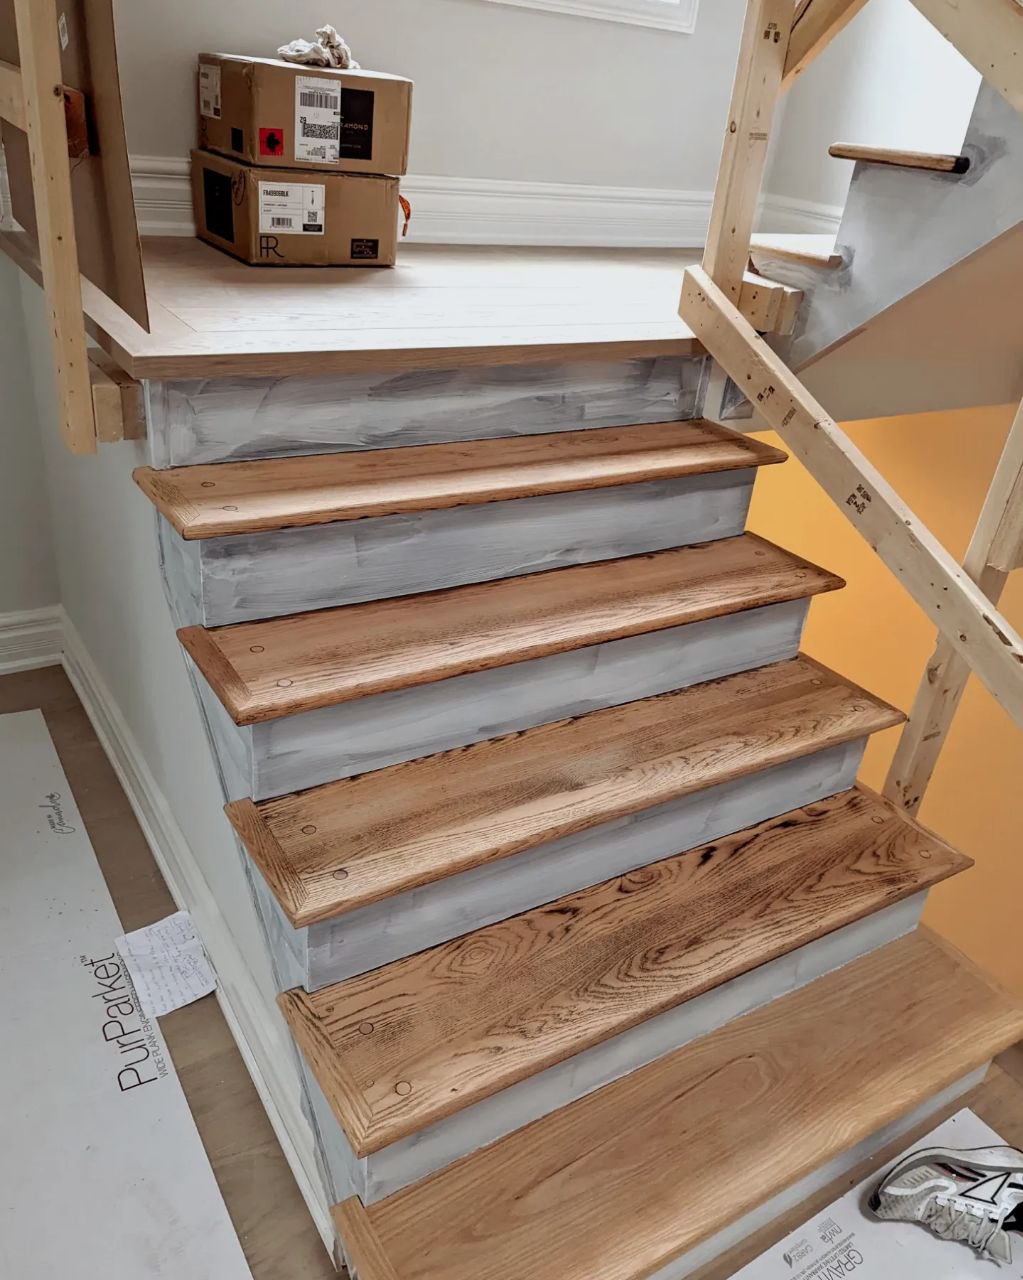
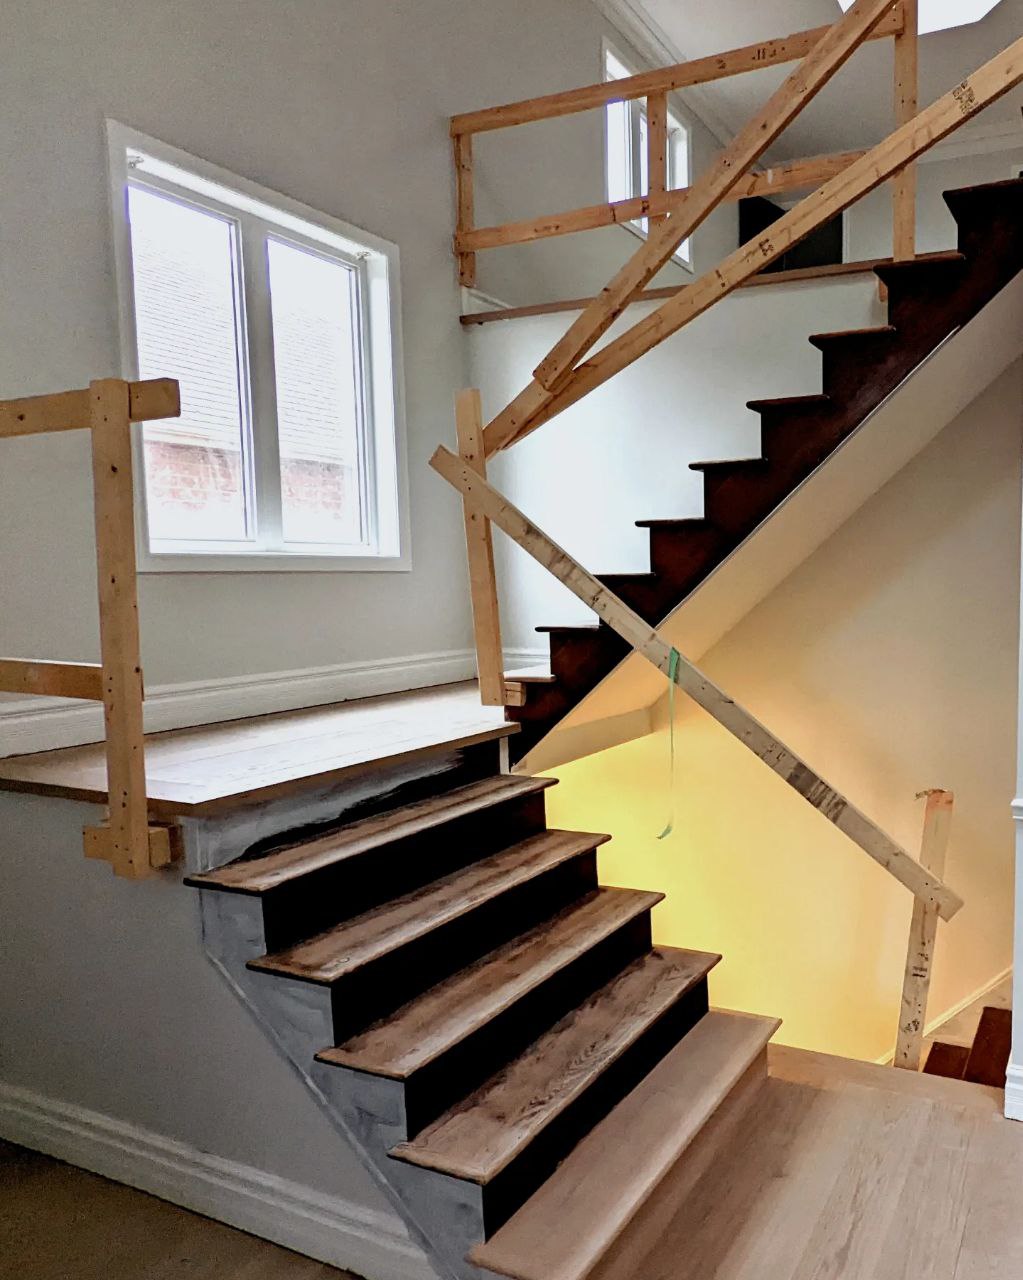
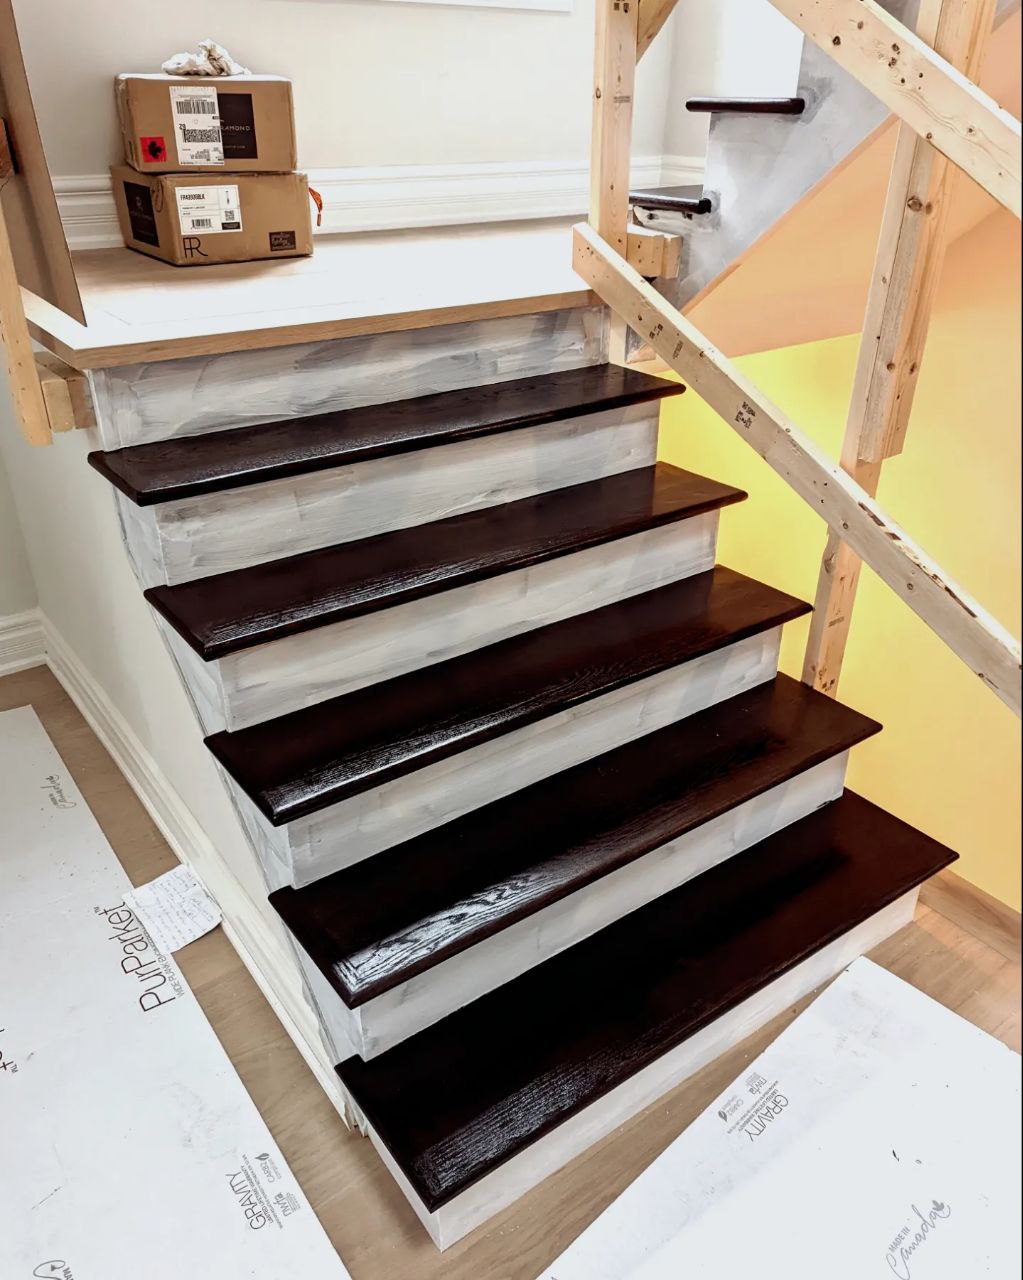
In the full house renovation project in Oakville, the staircase refurbishing emerged as our highlight. Commencing with weathered, stained stairs and a well-devised plan, we initiated the transformation. First, we removed the railing, making way for a new one to be installed subsequently. The bottom steps were widened, stringer gaps filled, and the stairs were stained and refinished. Additionally, we revamped the stair treads and landing, introducing new risers to complete the upgrade. The refurbished staircase made a significant impact and became one of the standout features that our clients loved in their newly renovated home.
Classic and timeless, the black-and-white aesthetic is a perpetual favorite. We executed a contemporary transformation upon the outdated brown paneled wood staircase using a sleek dark brown stain and crisp white paint. Each element, including the newly painted and stained risers, was masterfully attended to, ensuring a cohesive and refreshed appearance that seamlessly harmonizes with the rest of the staircase.
When weighing the decision between staircase staining or painting, it’s advisable to go for staining the treads and painting the risers. Staining provides durable protection for the frequently traversed treads, while painting brings a clean, fashionable appearance to the risers, which receive minimal foot traffic.
Refurbishing your staircase involves a diligent process to ensure achieving that perfect finish, whether you’re opting for staircase staining or staircase painting.
Here are our 2cents for your DIY Staircase makeover project:
Begin by preparing the surface, sanding the treads down to bare wood using 80-grit sandpaper for both staircase staining and painting. We employ Festool Dust Extractor Sander for a dust-free surface. You can employ a random-orbital sander for efficiency but don’t neglect the importance of hand sanding in tight corners.
Next, come up with a thorough cleaning system. Vacuum between sanding passes and wipe the treads with a tack cloth to eliminate any dust or debris. This step is crucial to ensure a smooth and clean surface for both staircase staining and painting, preventing unwanted scratches that might be visible through the final finish.
Refine the surface further by repeating the sanding process with 120 grit sandpaper after successfully removing the finish with 80 grit. Once again, perform a meticulous cleaning routine with a tack cloth, preparing a smooth surface.
Now, it’s time for wood treatment. If you’re leaning towards staircase staining, apply a wood conditioner followed by an oil-based stain, ensuring the thorough removal of the previous finish. For those aiming for staircase painting, skip this step and proceed to priming the surfaces.
For staircase staining, the next step involves liberally applying the stain with a dry cloth or staining pad. Wipe off any excess stain with a lint-free cloth and allow it to dry for a minimum of 12 hours. On the other hand, if you’re venturing into staircase painting, apply a high-quality primer suitable for wood surfaces.
Moving on to the application of the finish or paint, utilize a paintbrush to apply water-based polyurethane for stained treads or durable paint for painted ones. Ensure a slow and even application to avoid the formation of bubbles and allow it to dry for a few hours.
Repeat the process for three coats, sanding lightly by hand with 220 grit sandpaper after the first coat is dry. Perform a thorough cleaning routine with vacuuming and wiping down. Repeat the application of polyurethane or paint two more times, ensuring a total of three coats. Remember to avoid sanding after the third coat for a smooth and durable finish, whether you’re focused on staircase staining or painting.


